If you’ve ever sent a file to a printer and been asked about bleed, you’re not alone. It’s one of the most common things designers and first-time print customers get asked about, and the concept is simple once someone explains it properly.
Bleed is extra artwork that extends beyond the edge of your finished document. It’s there so that when the printer trims the job to its final size, there’s no risk of a thin white border appearing at the edge of the page. Without it, even a perfectly printed job can look unfinished.
Why trimming creates the problem
Printing and trimming are two separate processes, and they don’t happen at the same place every time. Sheets of paper move through a press, get stacked, joggled, and fed through a guillotine or cutting die. There’s a small amount of natural variation in where the cut lands, typically within 1 to 2mm of the target line.
On most jobs that variation is invisible. But if your design has a coloured background, a photo, or any element that runs right to the edge of the page, and the cut lands even slightly inside that element, you’ll see a sliver of white paper where the ink stopped.
Bleed eliminates that risk by extending your design past the cut line so the trim always lands within colour or image, not on the edge of it.
Here’s the key point: bleed isn’t a design choice. It’s a technical requirement that accounts for the natural movement in any print and cut process.
How much bleed do you need?
The standard bleed for most print jobs is 3mm on all sides. So, if your finished document is A5 (148 x 210mm), the file you supply should be set up at 154 x 216mm, with your artwork extending to the outer edge of that larger canvas.
Some jobs require more. Large format printing, such as banners and wide format signage, often calls for 5mm to 10mm of bleed because the cutting tolerances on larger sheets are wider. If you’re unsure what a specific job needs, ask before you set up your file. It’s much easier to add bleed at the artwork stage than to go back and extend a design that’s already been signed off.
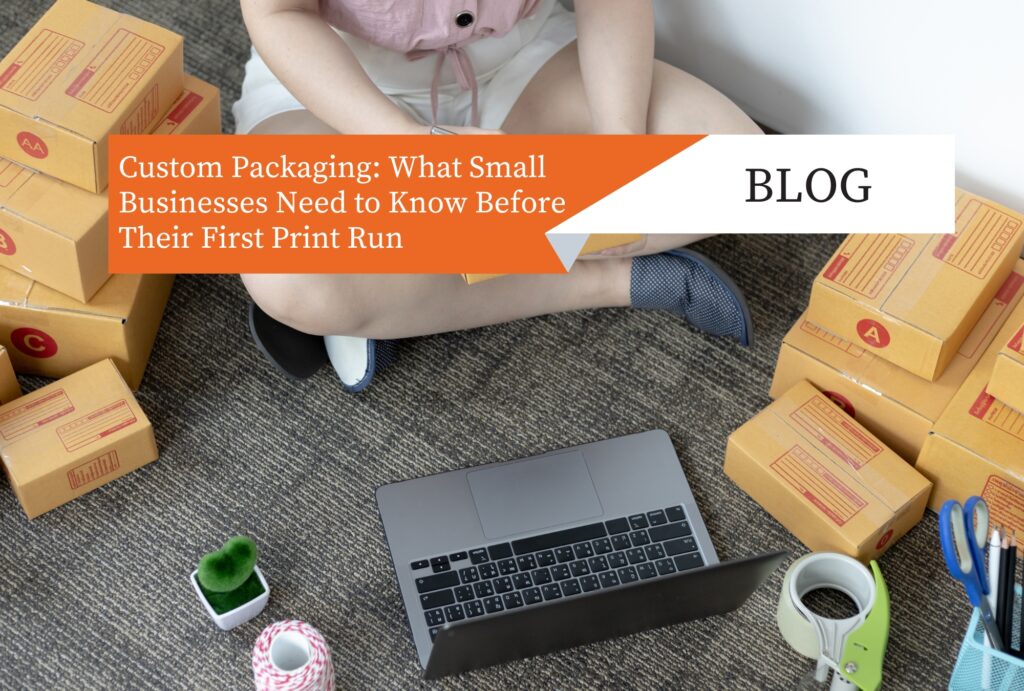
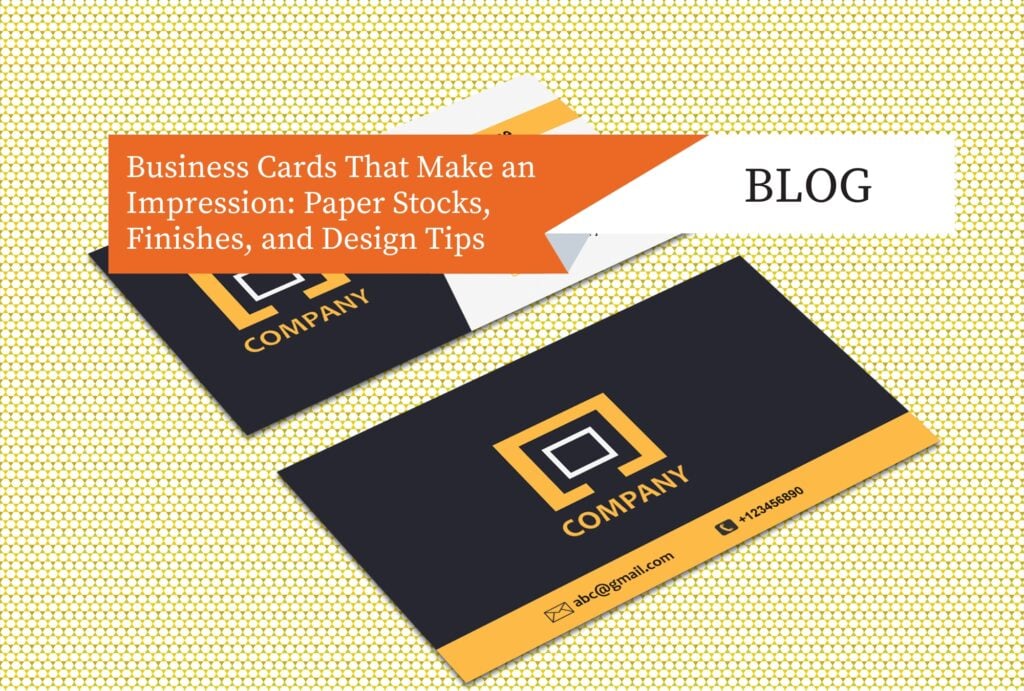
For small items like business cards, bleed is especially important because the finished piece is small and any white edge becomes immediately obvious. The same applies to flyers and booklet covers where a full-bleed image or colour is part of the design.
Here’s the key point: 3mm bleed on all sides is the standard for most commercial print jobs. Large format work typically needs more. When in doubt, ask before you build the file.

The safe zone: keeping text away from the edge
Bleed works outward from the trim edge. The safe zone works inward.
Any text or important design element that you don’t want cut off should sit at least 3mm inside the trim line. That’s your safe zone. Combined with 3mm of bleed outside the trim, you’ve got a 6mm buffer from the outer edge of your artwork canvas to where your critical content sits.
It sounds like a lot when you’re looking at a layout, but in practice it’s a narrow strip around the perimeter. Most of your usable design space is unaffected. The safe zone only becomes an issue when designers push text or logos close to the edge without accounting for trim variation.
A common mistake is setting up a file with bleed but no safe zone, then placing a phone number or address right at the trim edge. The bleed keeps the background colour intact, but the text still risks being clipped.
Here’s the key point: bleed extends out, safe zone pulls in. Both are 3mm from the trim line, giving you 6mm total between the edge of your artwork and any text or critical elements.
What happens when bleed is missing
Files without bleed aren’t automatically rejected, but they do create a decision point. When we receive a file that’s set up to the exact finished size with no bleed, we have two options.
We can ask you to go back to your designer and add it, which delays the job. Or, if the design has enough background colour or image extending close to the edge, we can sometimes add bleed by extending that artwork ourselves. That works on simple backgrounds and solid colours. It doesn’t work on complex images or designed edges, where extending the art would look wrong.
The cleaner path is always to set bleed up correctly in the original file. If you’re working with our graphic design team, this is handled as part of the process. If you’re supplying your own artwork, we’ll flag it during the preflight check before the job goes to press.
Here’s the key point: missing bleed either delays the job while artwork is revised, or limits what we can do to fix it. Getting it right in the original file saves time for everyone.
Setting up bleed in common design programs
Most professional design applications handle bleed at the document setup stage, before you start building your layout.
In Adobe InDesign, you set bleed when you create a new document. Under ‘Bleed and Slug’, enter 3mm for all four sides. The bleed boundary shows as a red guide around your page. Any artwork that should bleed needs to extend to that red line.
In Adobe Illustrator, go to File > Document Setup and enter your bleed values there. The same logic applies: artwork that bleeds off the edge must extend to the outer guide.
In Canva, bleed handling depends on the plan you’re on. The print bleed feature is available on paid plans when downloading a print-ready PDF. Make sure to tick ‘Include bleed marks and crop marks’ when exporting.
When exporting to PDF for print, always export as PDF/X-1a or PDF/X-4 and make sure bleed marks and crop marks are included. That gives whoever is printing the job a clear reference for where the trim line sits.
Here’s the key point: bleed is set at document creation, not added later. Export with crop marks included so the printer can see exactly where your trim lines are.
Frequently asked questions
Does every printed product need bleed?
Only if artwork or colour extends to the edge of the finished piece. A document with a white background and content sitting well inside the margins doesn’t need bleed. But anything with a coloured background, edge-to-edge images, or design elements running to the trim line does.
What file format should I supply for print?
PDF is the standard for most print jobs. Specifically, PDF/X-1a or PDF/X-4 with crop marks and bleed included. If you’re supplying native files (InDesign, Illustrator, Photoshop), include all linked images and fonts. When in doubt, talk to us before you export.
Can you check my file before printing?
Yes. Every job goes through a preflight check before it hits the press. If there’s a bleed issue, a resolution problem, or anything else that could affect the finished print, we’ll flag it and let you know before the job runs.
What’s the difference between bleed and crop marks?
Bleed is the extra artwork. Crop marks are the small lines printed in the margins of the sheet that show the press operator or guillotine operator exactly where to cut. They work together: bleed gives you insurance against the cut landing slightly off, crop marks show where the cut should land.
Do you offer design help if my file isn’t set up correctly?
Yes. Our graphic design team can set up print-ready files from scratch or fix existing artwork that isn’t quite right. If you’re not sure whether your file is ready to print, get in touch and we can take a look.
Sending us a file?
If you’re not sure whether your artwork is set up correctly, send it through and we’ll check it before anything goes to press. We’ve been printing in Newcastle for over 45 years and we’d rather catch a bleed issue before the job runs than after.
Get in touch with the team at Jennings Print or give us a call on 02 4933 5735.